|
There is nothing better than the smell of home-made soup on a chilly winter day. And there is no better excuse to make soup than Thanksgiving! Here is your easy step-by-step guide. It is not hard, but yes the stock does take some time. And the end result is absolutely worth the wait. 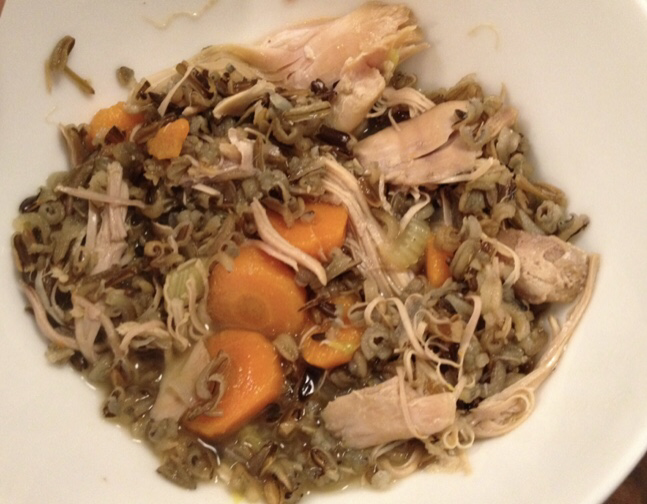 Step 1: The Kitchen Sink. Put the turkey carcass, any uneaten legs, wings, or other parts into the largest stock pot you have. Toss in chunks of onions, carrots, and celery (skin on is fine, it will all get strained off so doesn't have to be pretty) along with a couple of bay leaves, fresh sage, thyme and rosemary if you have it, a handful of peppercorns and a good healthy pinch of salt. Then off to cover with water. 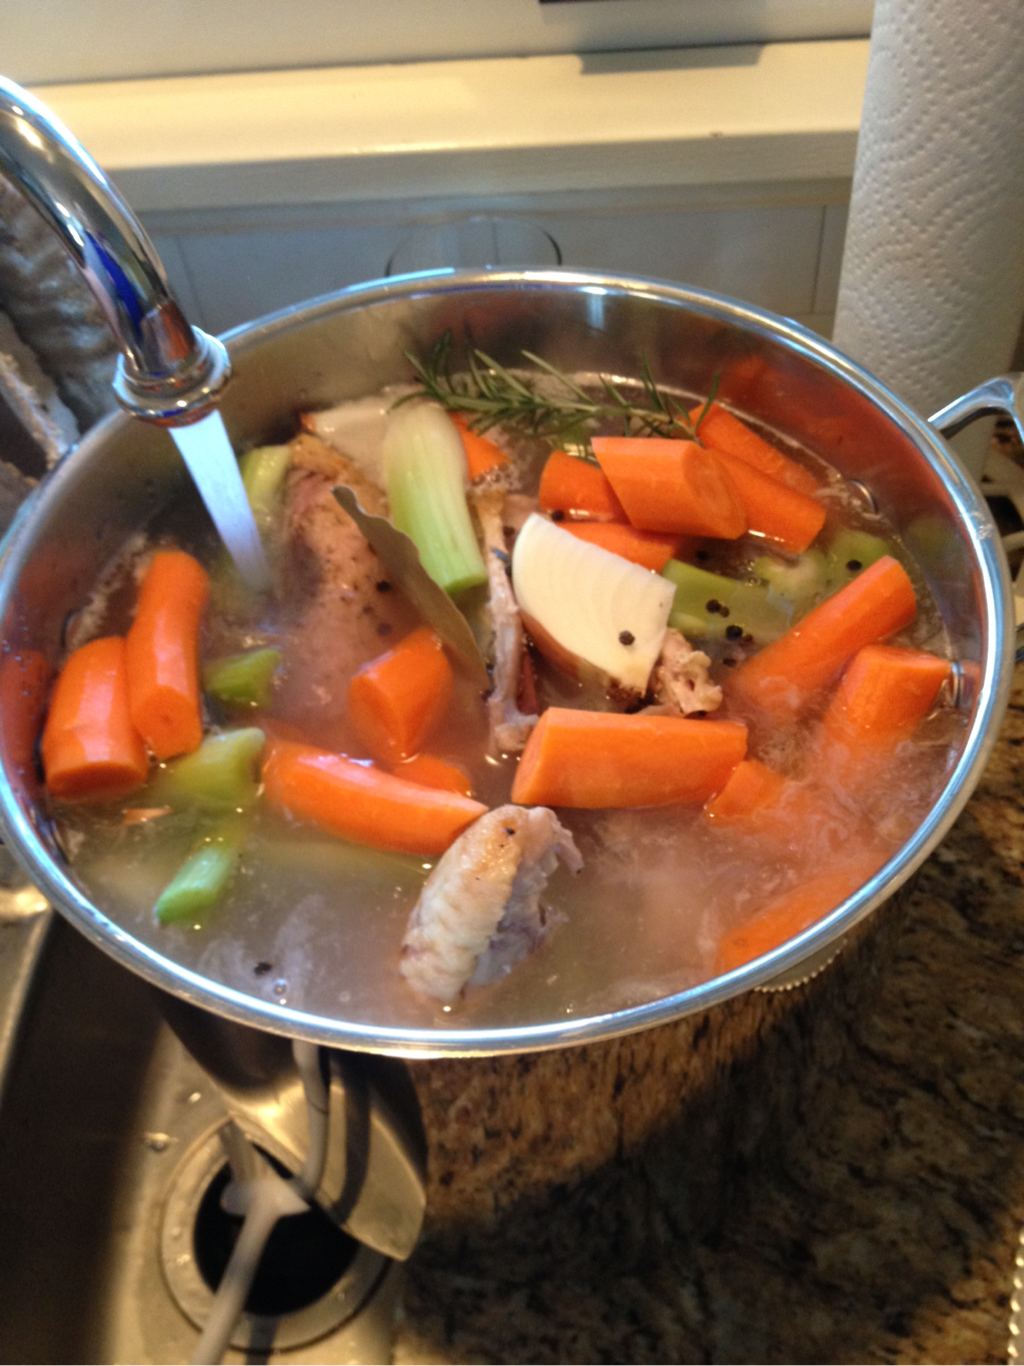 Let it boil for 4-6 hours. I like to cover it for the first 2/3rds and then uncover to let the flavors consolidate. Step Two: Strain and Separate. Put your largest strainer over your largest bowl and pour off the mix, conserving the stock in the lower bowl. 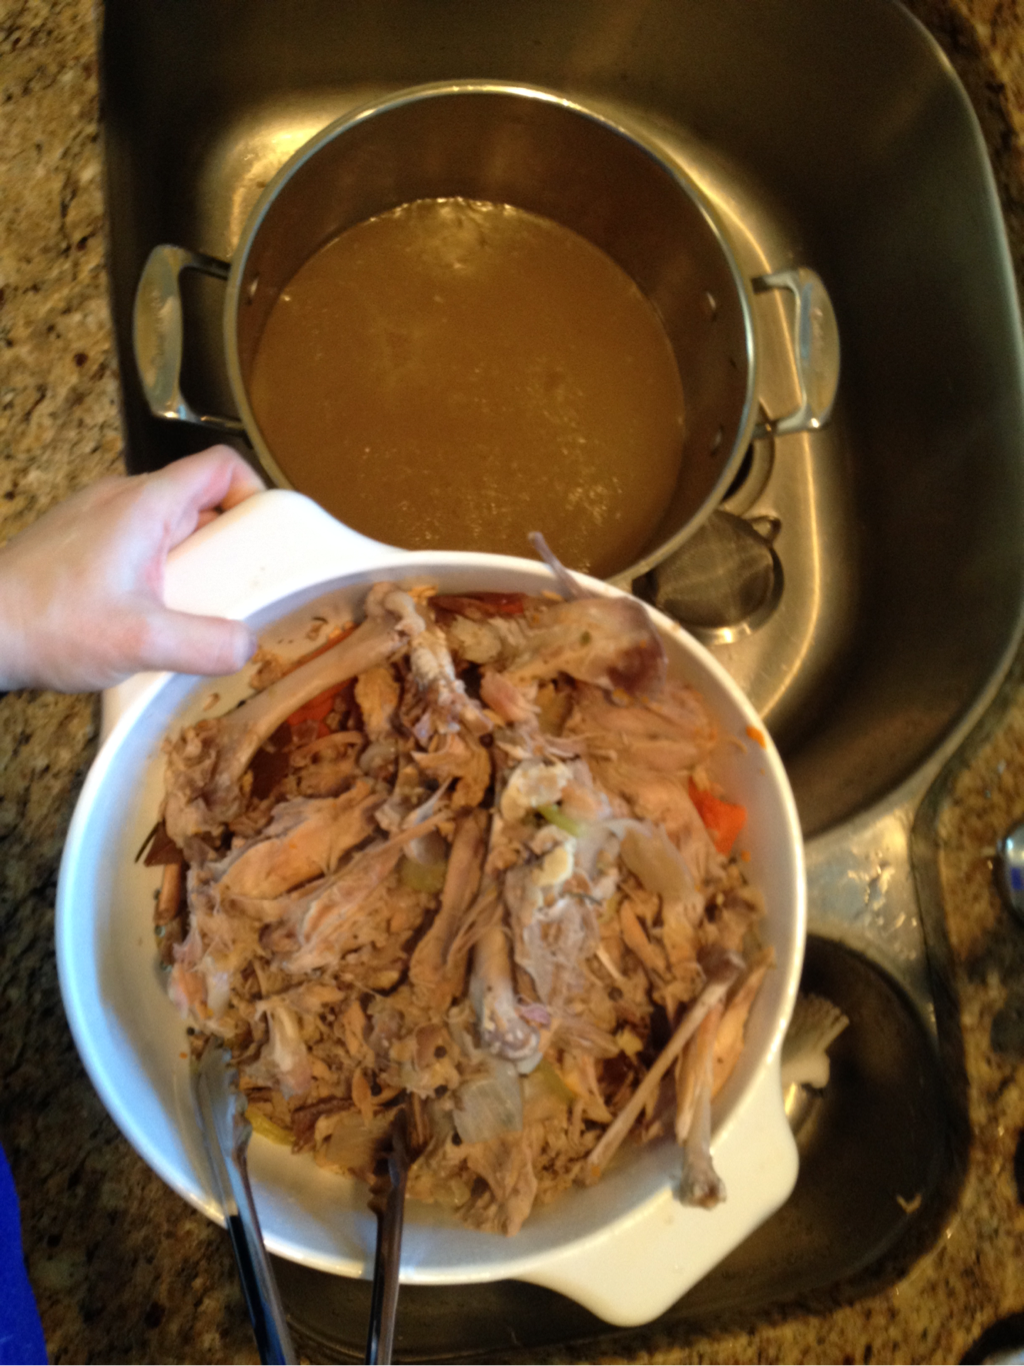 Pick through (carefully, it hot!) to pull out all the good meat from the bones, fat and other junk. Here you will see that I also separated out all the veggies for our chickens (variety = better eggs!). 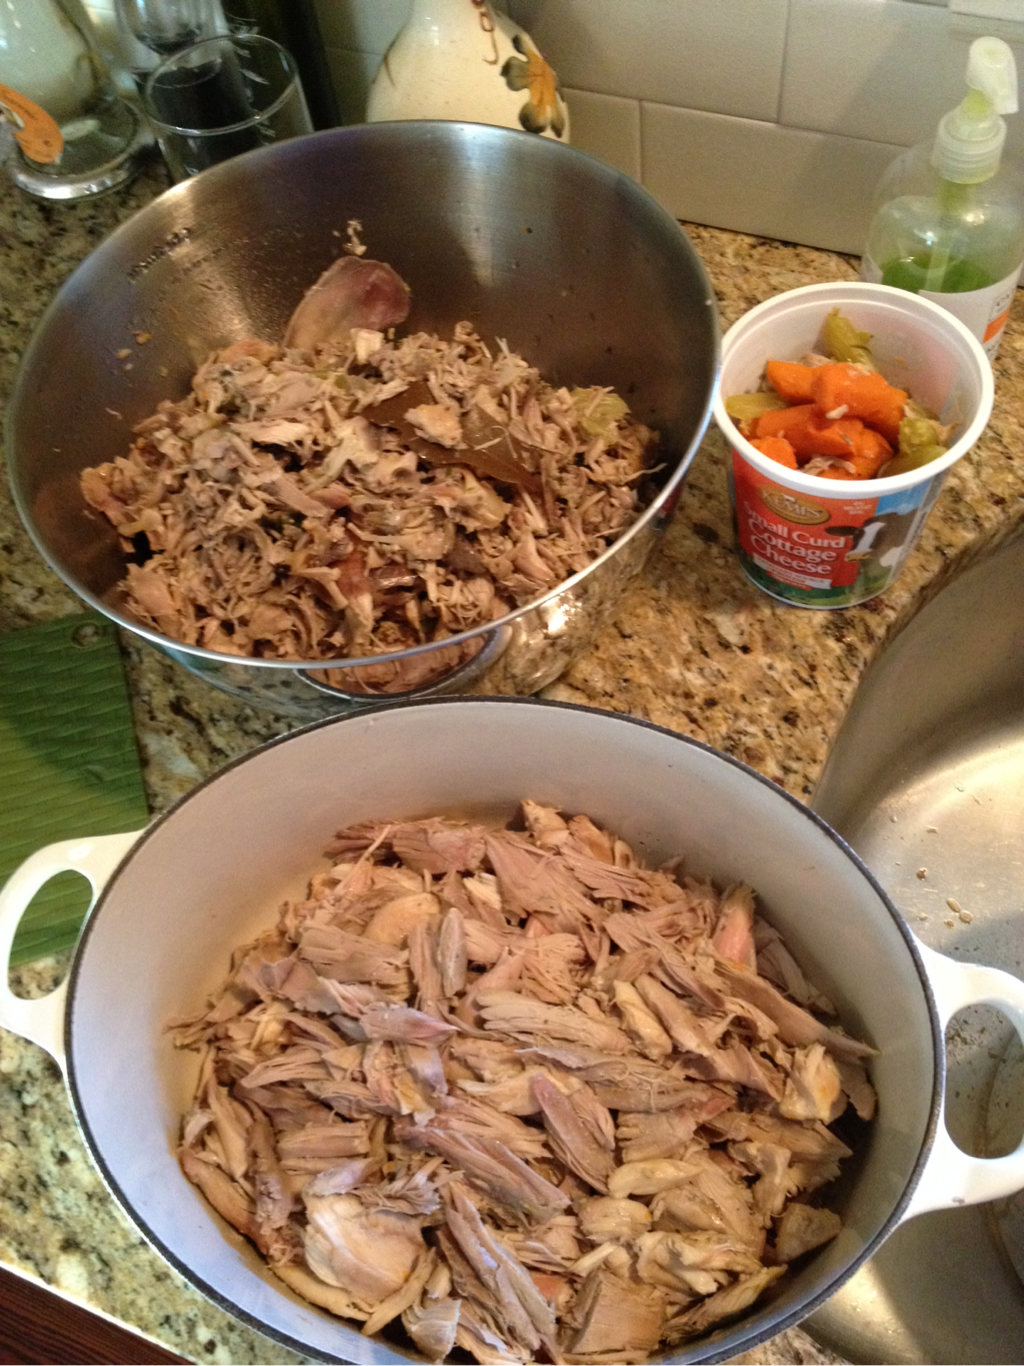 The stock you are left with is a gorgeous, rich brown color. It is also quite velvety with a layer of fat on top. As you pick through your meat, you will give it time to settle to be strained. 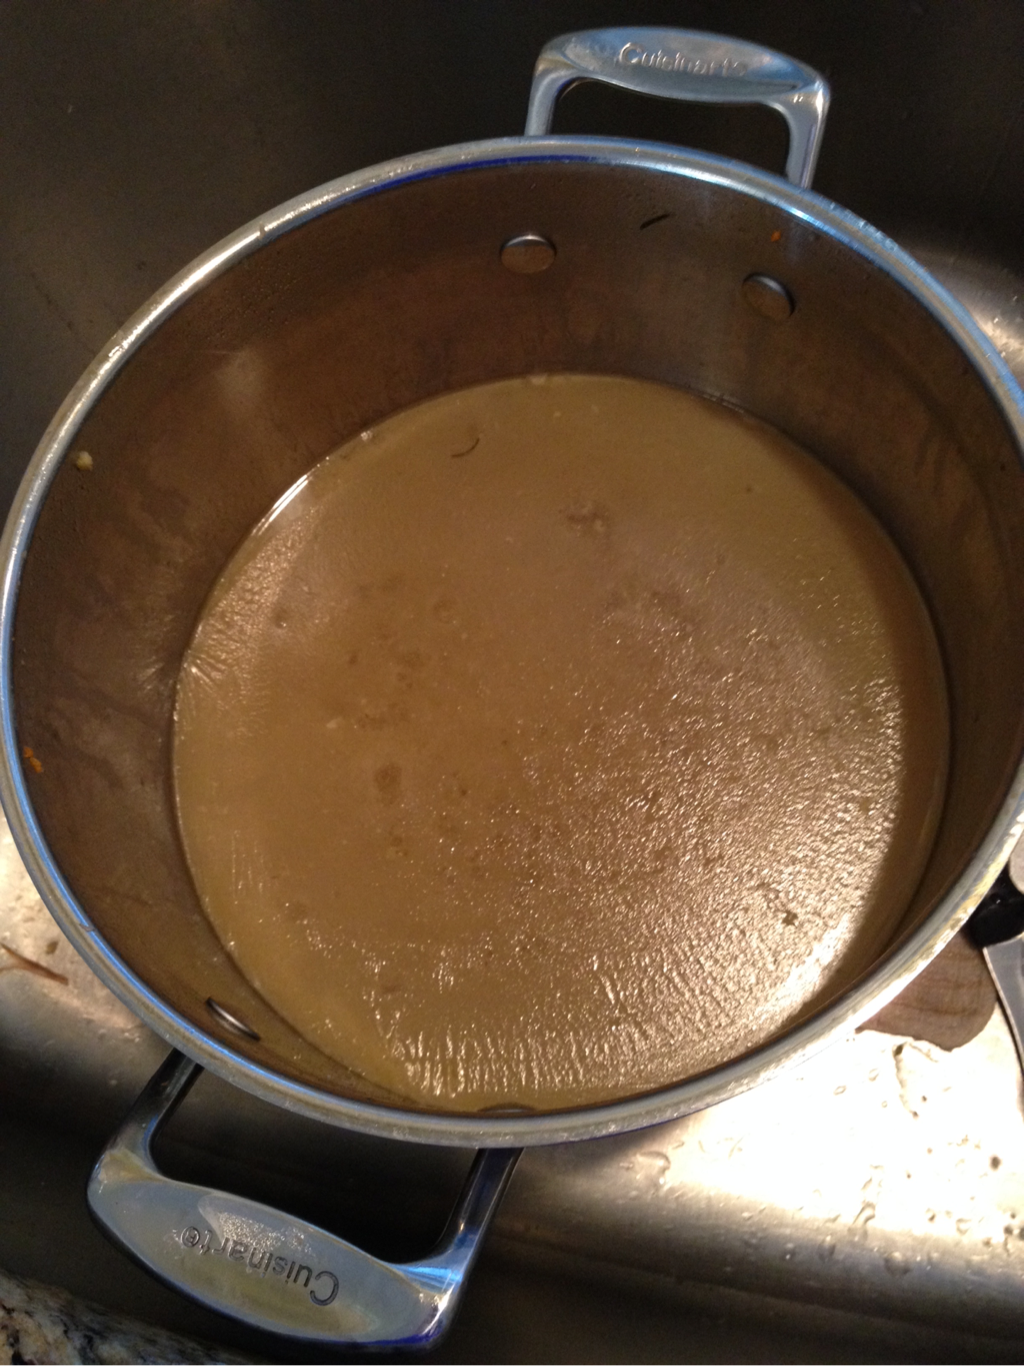 If you have a fine strainer or cheese cloth those would work great. I didn't so I used the smallest one I had and then used a paper towel to soak up the layer of fat off the top. 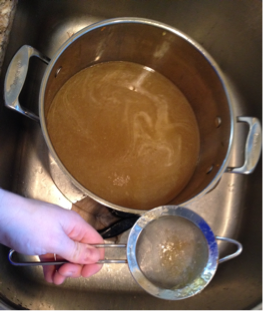 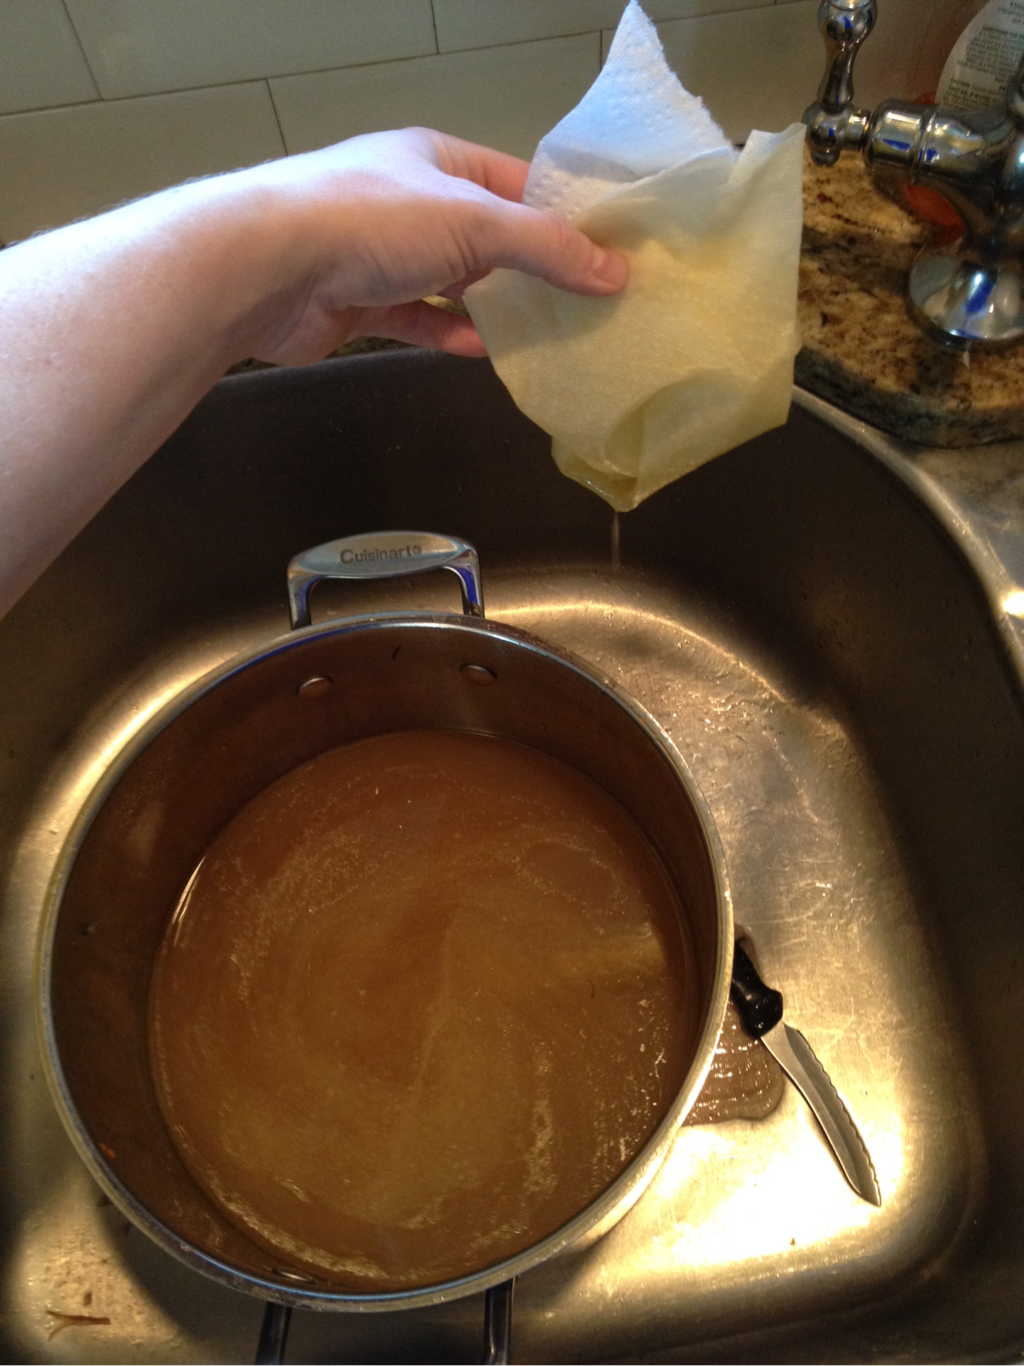 Step Three: Back to the Stove. Next you can pour enough broth to cover the turkey to keeping from drying out. In your larger pot put the rest of the stock on a burner and get ready to add the rest of your soup. Keep a lid on your turkey and turn it on low to keep it at a food-safe temp. 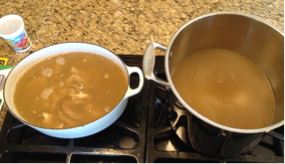 Now you are ready to add the veggies that will be in your soup! I added back in 1/2 onion, 4 celery stalks and 6 carrots. 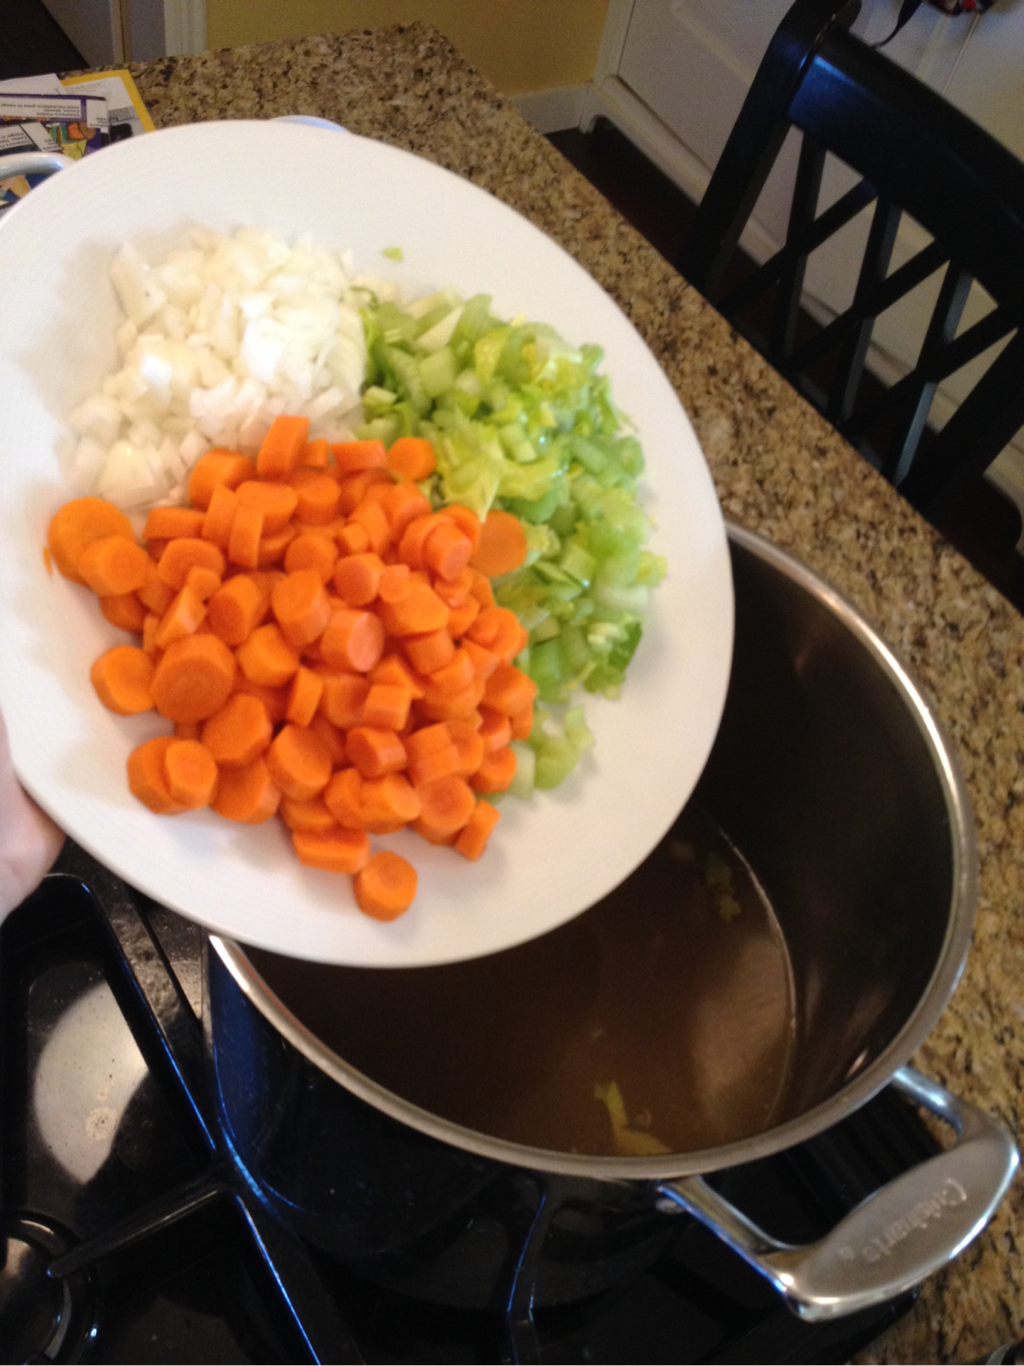 Add in a couple more bay leaves and don't forget to keep tasting and season with salt and pepper! 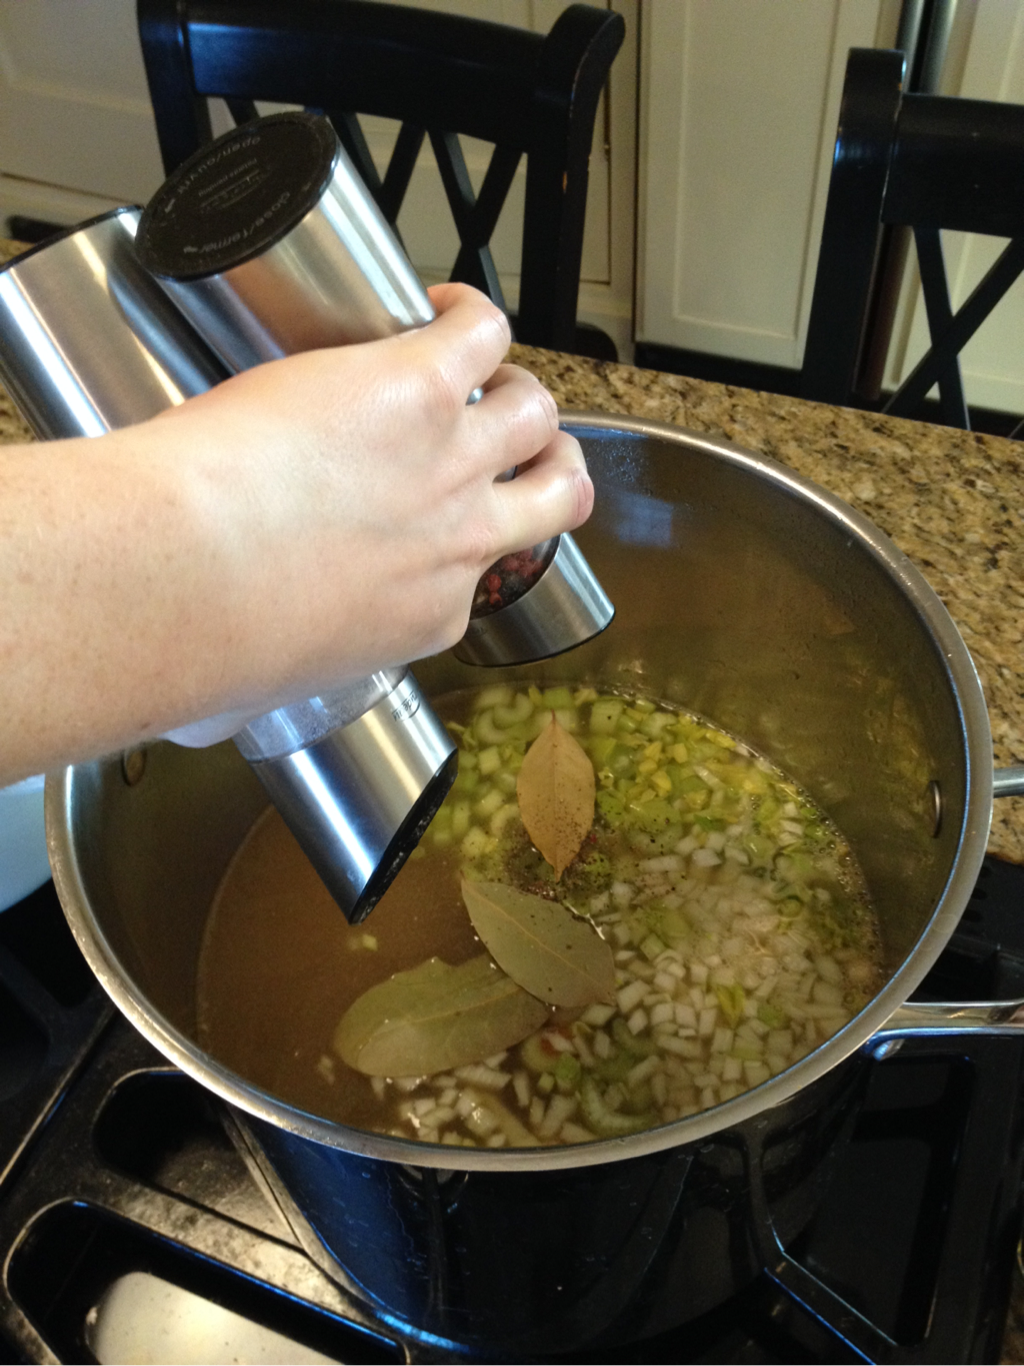 Let it bubble away while you prep your rice or noodles. 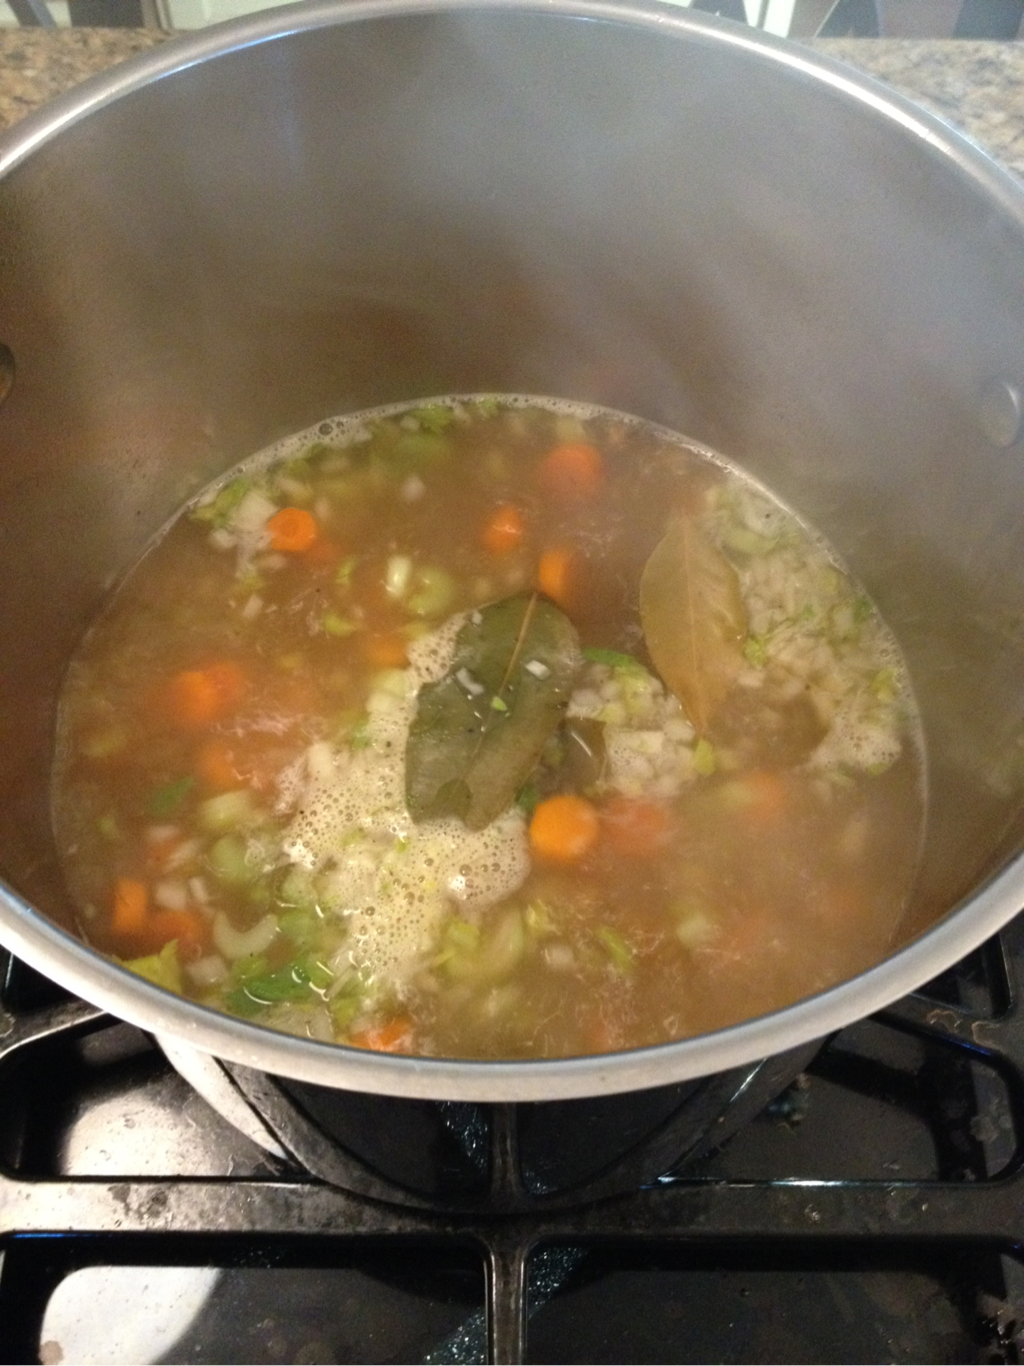 Step Four: add the Starch. In MN we have access to wonderful wild rice. If you buy it try to get the whole grain version. You will want to soak it in cold water for at least 10 mins. I added 2.5 cups after I soaked and rinsed it. Again, I used a paper towel to ensure it didn't get through the strainer. If you prefer to use noodles you will want to ensure the veggies are almost cooked before adding so they don't get overcooked. 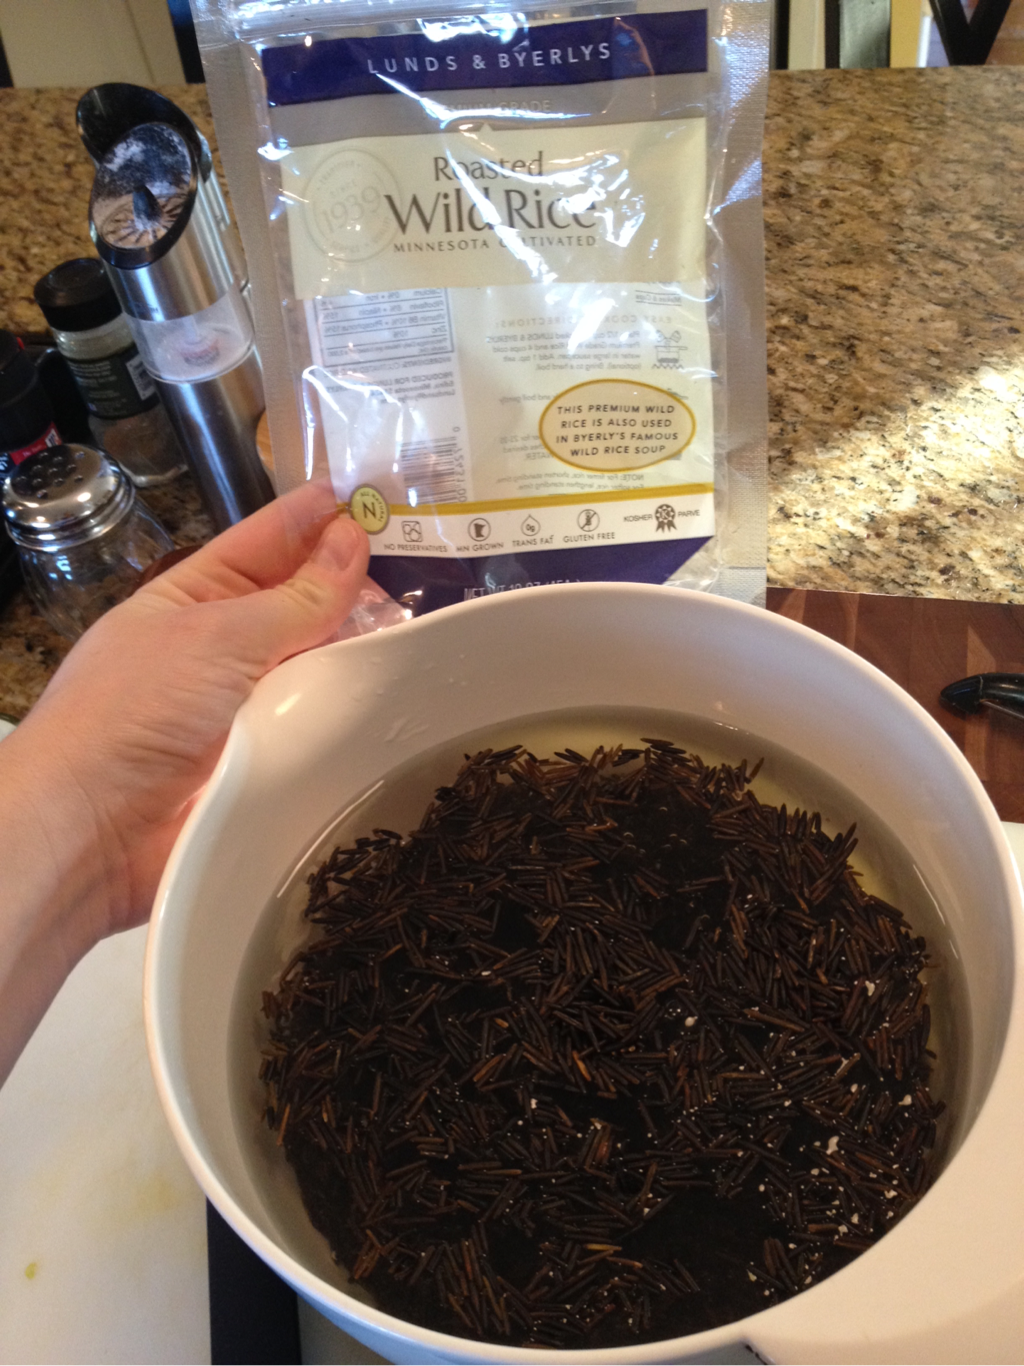 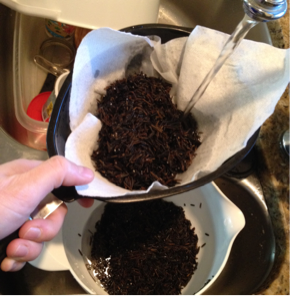 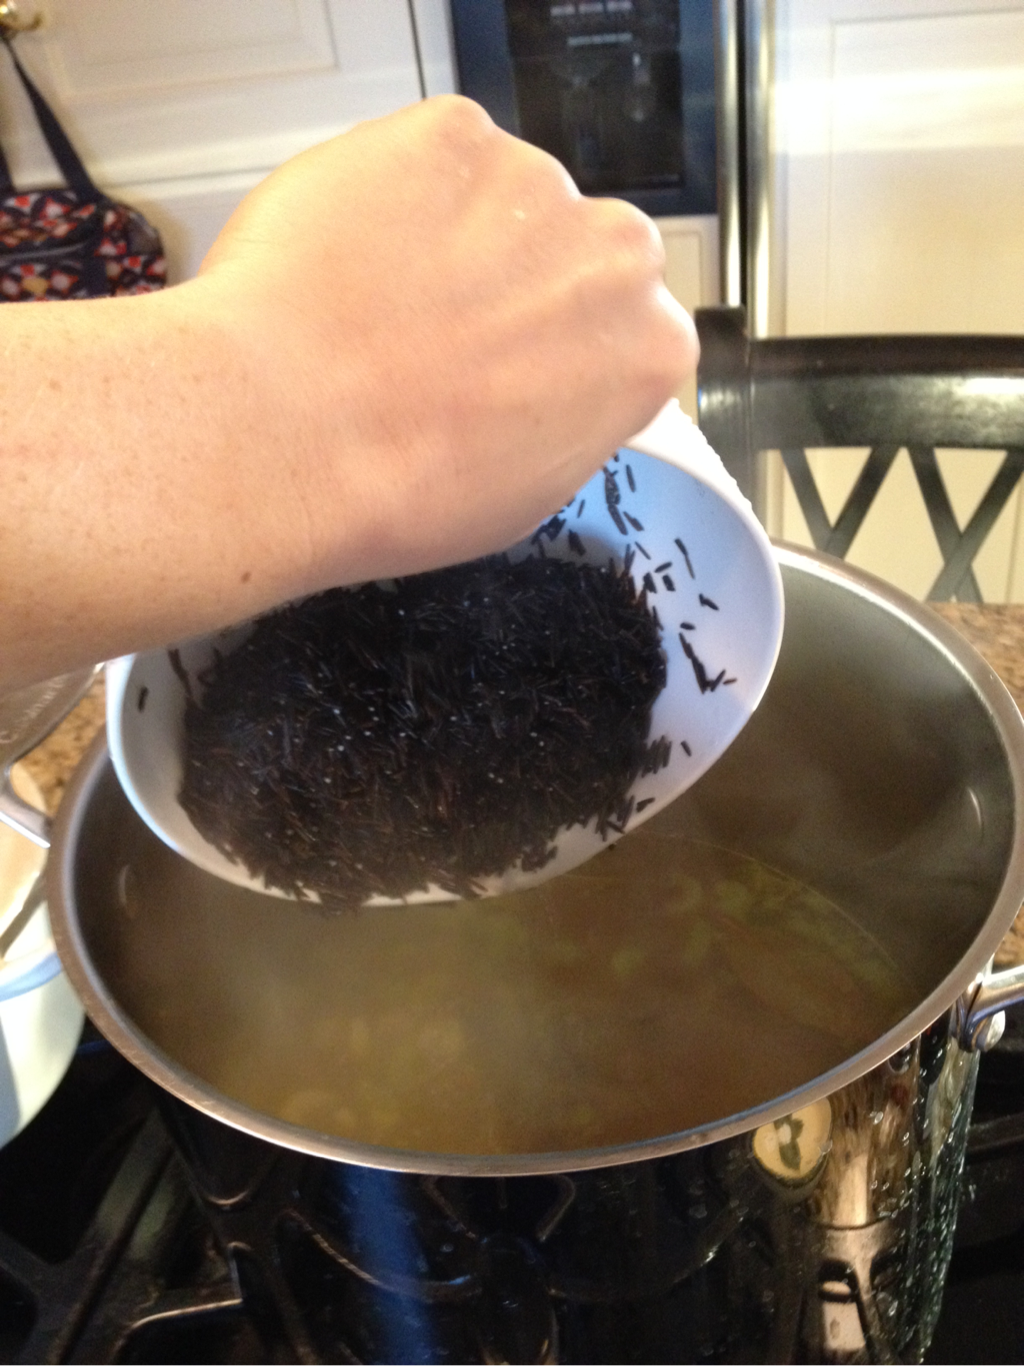 Here the rice is not quite cooked. You can tell because the rice is not fully opened. When it is cully opened and cooked it will be curly.  When the rice is almost done add back in the turkey and broth. The reason you don't do this too early so that when you stir the turkey falls apart. 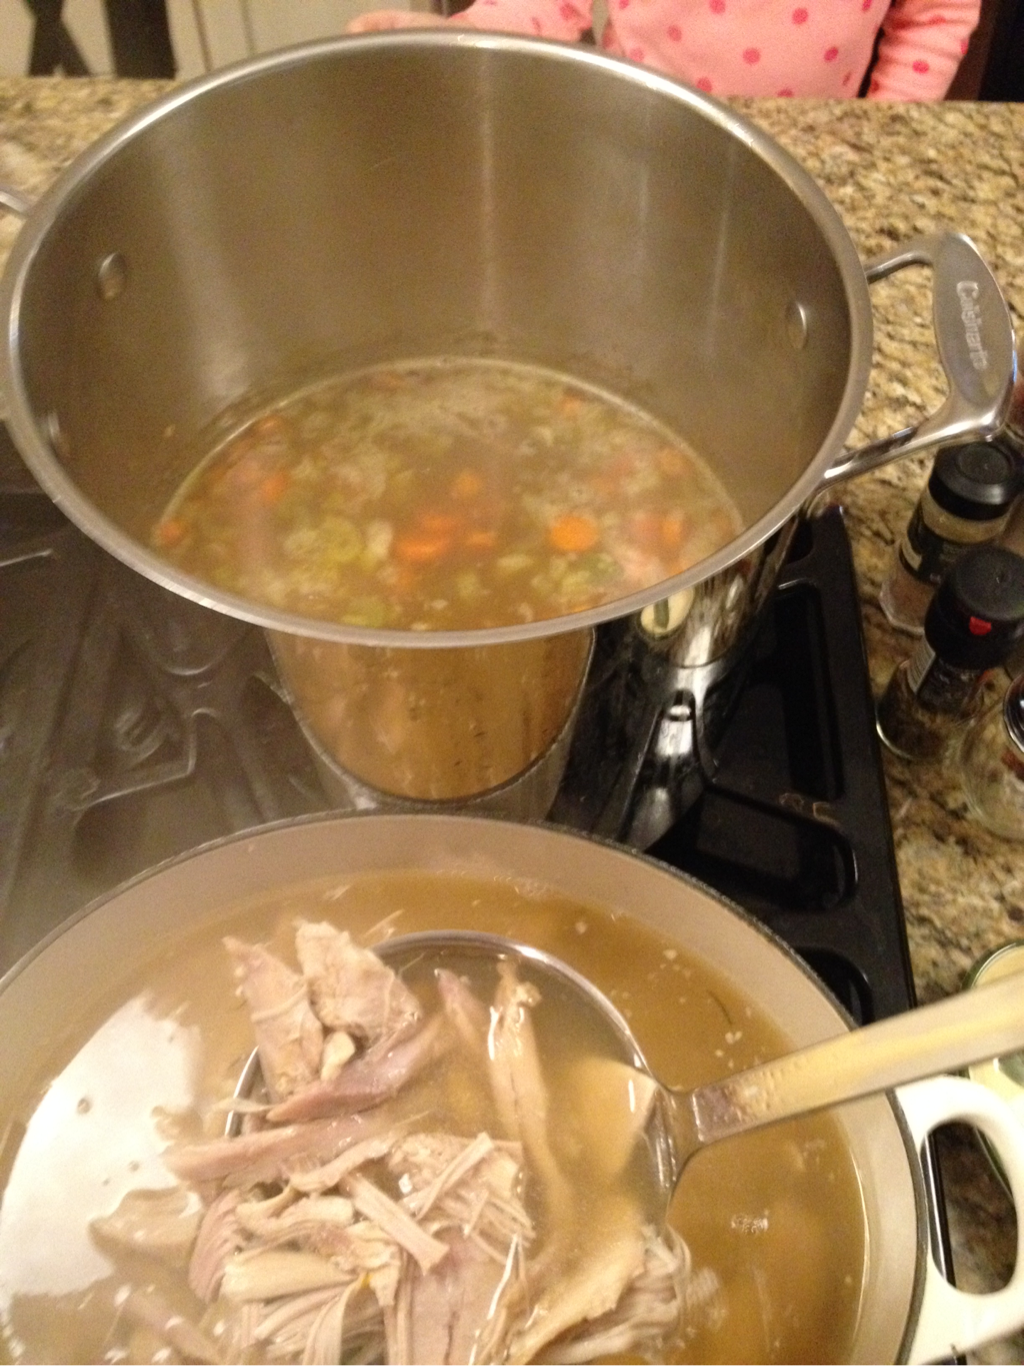 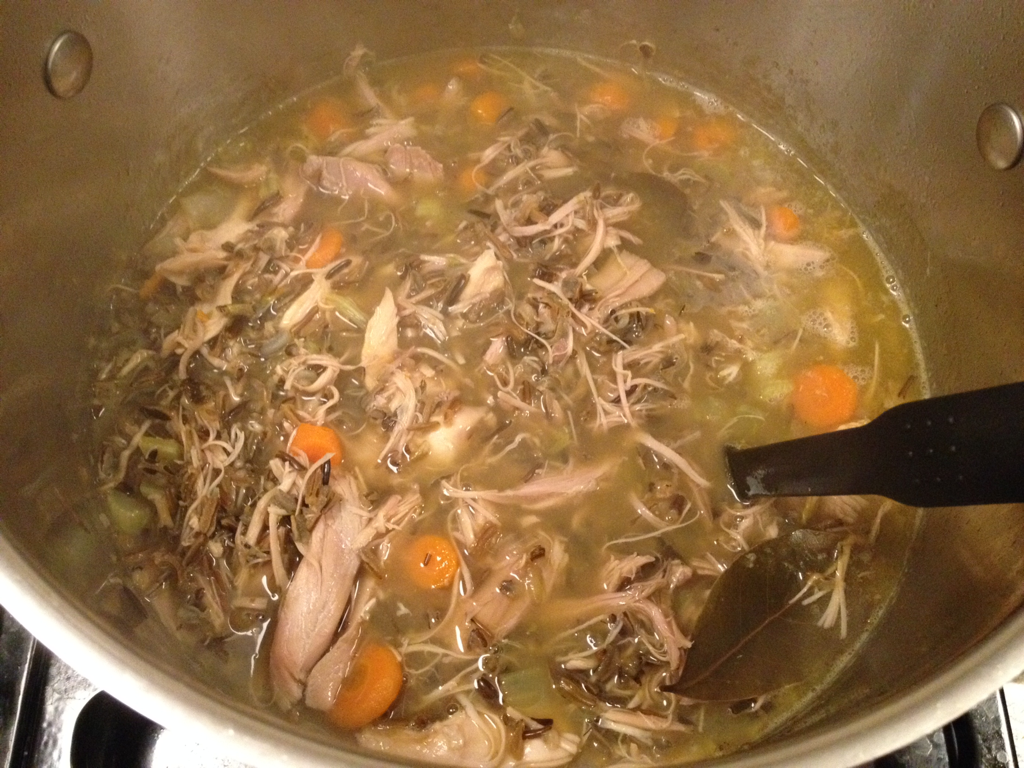 Step Five: Dish Up! Yummy cooked wild rice is Curly! 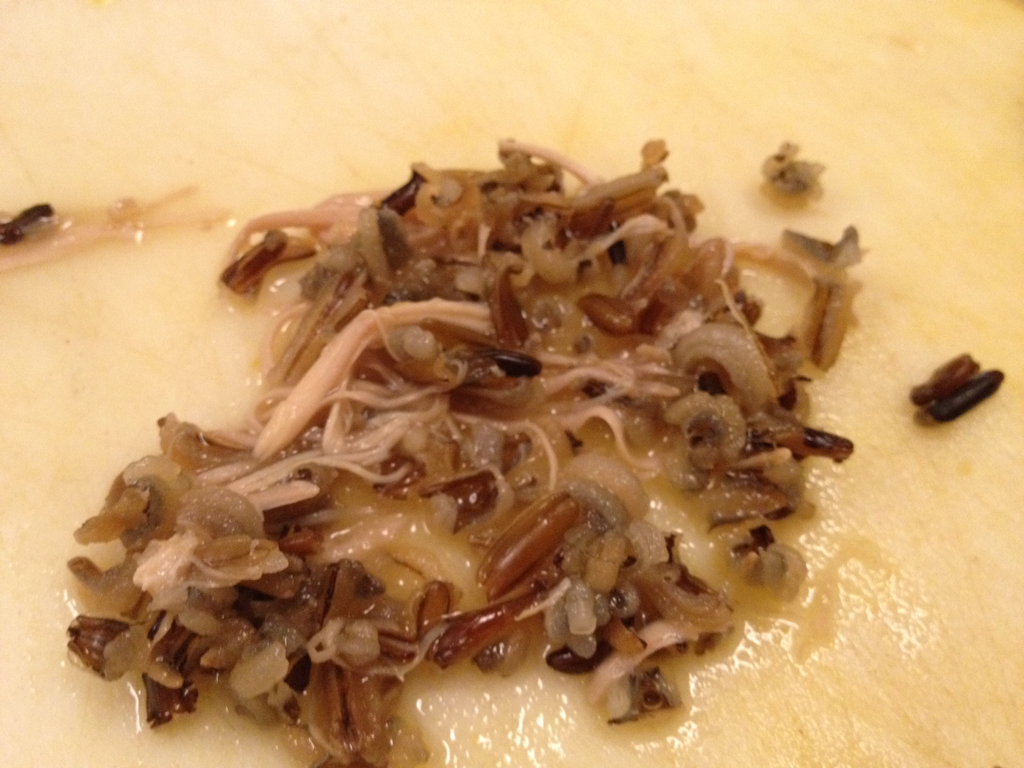  Dish up and enjoy!!! 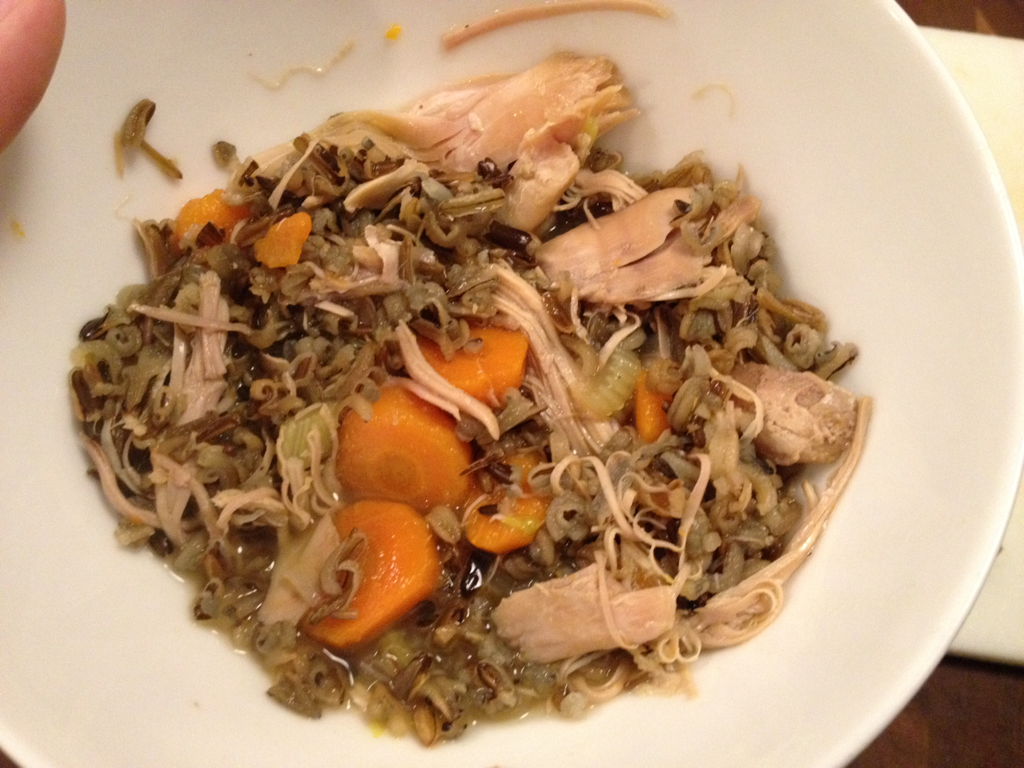
0 Comments
Leave a Reply. |
Author: KellyI love to cook and care for the people I love! Categories
All
Archives
November 2020
|
 RSS Feed